LIT · Lighting
Window Light Photography: A Free Softbox at Home
A single window is one of the best portrait lights you can use. Here is how to position it, shape it and expose for it.
Diagrams
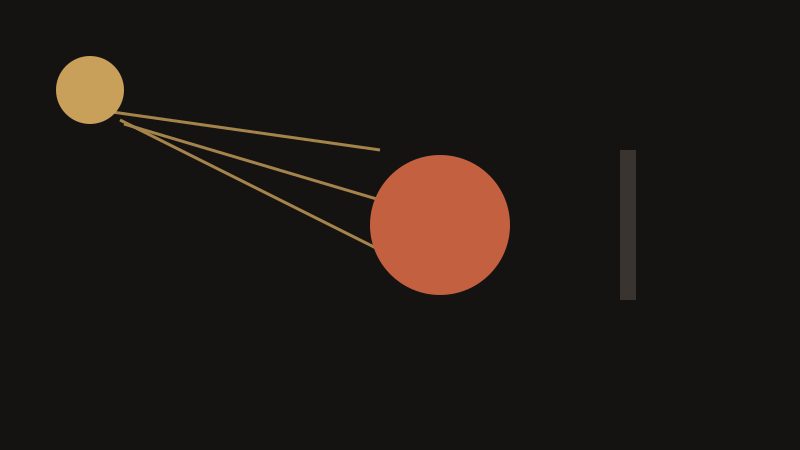
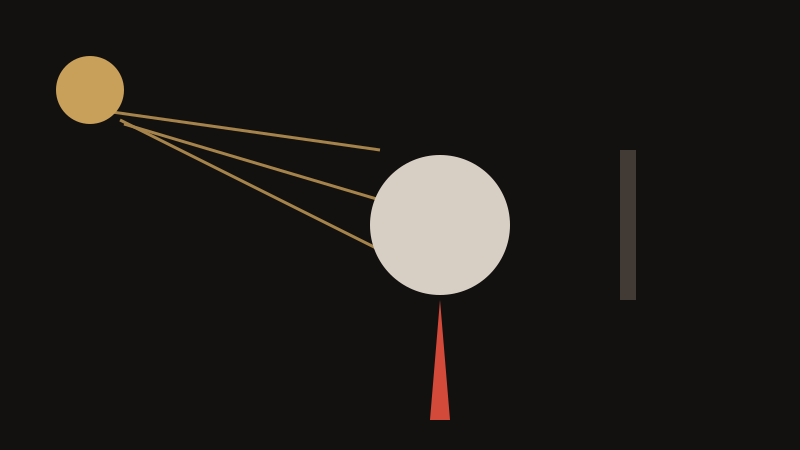
A window is a large, directional, beautifully soft light source, and it is free. Its size relative to your subject decides the softness, and because light falls off quickly with distance, moving your subject a step closer or further completely changes the look. The brightness depends on the size of the window, how much sky it sees, the weather and the time of day. A north-facing window gives steady, cool light all day; a sunny south window gives strong, changing direction.
Positioning is everything. Standing your subject parallel to the window produces soft side light with a gentle fall-off across the face, the classic portrait look. Turn them 45 degrees toward the window for more modelling and a brighter, still flattering result. Facing the window head-on gives even, nearly shadowless beauty light. Putting the window behind them turns it into a rim light, so expose for the face and bounce something white in front. As a rule, closer to the window is softer and brighter; further away is dimmer and contrastier.
Simple controls refine the light. A sheer curtain turns the window into a giant diffuser; a white foam board on the shadow side adds fill; a black card on the same side adds contrast and shape. Turn off room lights to avoid mixing tungsten with daylight, and keep direct sun patches off the face by either moving the subject or hanging a curtain. Because the light is dim, open your aperture for a blurred background, raise the ISO, and support the camera to avoid blur.
The most common mistakes are placing the subject too far from the window, shooting at auto white balance so the warmth disappears, and leaving a cluttered background. Meter for the bright window and let unimportant highlights clip, or meter the face and accept a blown-out window. Move the subject, not the light.
Key points
- Keep your subject close to the window: closer means softer and brighter, further means contrastier.
- Parallel to the window for side light, 45 degrees for modelling, facing it for flat beauty light.
- Use a sheer curtain as a diffuser, a white board for fill and a black card for contrast.
- Turn off room lights to avoid mixed colour, and shoot wide open to blur a busy background.