LAN · Landscape
Landscape Composition: Layers and Better Frames
Learn how to build landscape images that hold the eye, from rule-of-thirds placement and leading lines to foreground layering and horizon control.
Diagrams

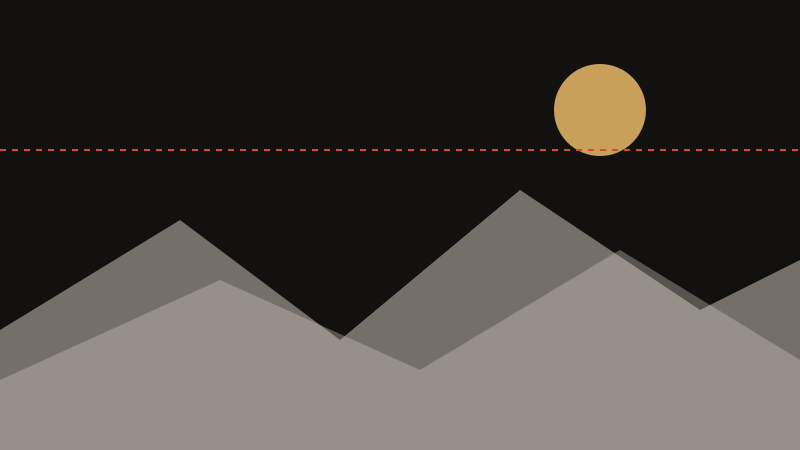

Before you touch the camera, decide what the photograph is actually about. A landscape frame fails most often because it contains everything and emphasises nothing. Pick one subject — a lone tree, a curve in the river, a lit peak — and build the frame around it.
Everything else in this guide follows from that decision: where the horizon goes, which lines carry the eye, how many layers of depth the frame needs, and what to do at the edges. Landscape composition is mostly subtraction, and the settings are the easy part.
Decide What the Picture Is About
Choose one subject and name it in a single word. If you cannot, the frame needs work, and no amount of processing will fix a photograph that is about nothing in particular. A single tree, a curve in the river, a lit peak or a lone rock in the surf gives every later decision something to be decided against.
Then simplify. Walk left and right, shoot from low and high, and watch how the subject moves against the background as you do. Most scenes improve when you take three steps sideways and one step down, because the foreground gets closer and the background separates.
Turn on the grid overlay in Live View and keep the horizon level. A one-degree tilt is the fastest way to make an otherwise good image look careless, and it is far easier to correct in the field than to explain in editing.
Horizon, Placement and the Level
Place the horizon on the upper or lower third rather than through the middle, unless a reflection genuinely needs the symmetry. Put your main subject on a third intersection. Both rules exist to stop the frame from being divided into two equal halves that neither the eye nor the story can resolve.
Which third depends on where the interest lies. A dramatic sky belongs in two thirds of the frame, so the horizon sits low. A textured foreground — rocks, flowers, ripples — belongs in two thirds, so the horizon sits high.
If the horizon is not level, nothing else in the picture can look deliberate. Use the grid, an electronic level or a hot-shoe bubble level, and check again after every tripod adjustment, because levelling the camera is exactly the operation that tends to knock it out.
Leading Lines and Visual Flow
Use leading lines — a path, a fence, a shoreline, a stream — to carry the viewer from the foreground into the distance. They work best when they start near a corner or an edge and end on something worth reaching, rather than dumping the eye into an empty corner.
Diagonals add energy while horizontals calm the frame, so choose deliberately rather than by accident. The same shoreline shot from a low angle becomes a diagonal and feels active; shot from eye level it becomes a horizontal band and feels still. Your position decides the shape of the line.
Water, roads and ridges often provide several lines at once. Pick one as the main route and treat the others as secondary, or the eye will be pulled in two directions and settle nowhere.
Building Depth With Three Layers
Depth is what separates a flat snapshot from a landscape photograph. Look for three layers: a foreground that anchors the frame, a midground that carries the story, and a background that gives context. Miss the foreground and the picture becomes a view rather than a photograph; miss the background and it becomes a detail study.
With a wide lens (16-24mm on full frame) get close to your foreground and stop down to f/11-f/16 so everything from about a metre away to the horizon is acceptably sharp. A wide lens exaggerates the size of whatever is nearest, which is exactly why the foreground layer works so well with it.
A tripod lets you use small apertures and low ISO without handshake ruining the shot, and it also slows you down enough to notice the edges. If the near-to-far range is extreme, a slightly longer focal length and a step backwards often solves more than a smaller aperture will.
Edges, Corners and Reviewing Your Own Frames
Check the edges of the viewfinder for stray branches, car parks, litter or bright patches that pull the eye away from your subject. Beginners look at the centre of the frame and shoot; the corners are where most distracting elements hide, and they are cheapest to fix before you press the shutter.
Common mistakes are consistent: shooting only from the car park, never leaving eye level, over-filling the frame with empty sky, and forgetting the edges. Each of them is a matter of where you put your feet and how carefully you look, not of equipment.
Finally, review every image at 100 percent on the back of the camera before you move on, and return to the same location in different light. Composition is far easier to judge when the light is doing some of the work, and a place that looked ordinary at noon can look transformed at dusk.
Key points
- Choose one subject and simplify; if you cannot name it in a single word, reframe.
- Place the horizon on a third rather than the middle, and keep it perfectly level with the grid overlay.
- Build depth with foreground, midground and background layers, shooting close with a wide lens.
- Shoot at f/11-f/16 on a tripod, and always inspect the frame edges for distractions.
Frequently asked questions
- Should I use a wide-angle or a telephoto lens for landscapes?
Both, for different pictures. A wide lens puts the viewer inside the scene and emphasises the foreground, which suits layered compositions with something close to the camera. A moderate telephoto compresses distance and isolates a single ridge, tree or pattern, which suits scenes where the best part of the view is far away and the foreground is uninteresting.
- What aperture is best for a landscape?
Somewhere between f/8 and f/16 works for most scenes. Smaller apertures bring more of the frame into focus, but past f/16 diffraction starts to soften the whole image, so f/22 is rarely the answer it appears to be. Test your own lens at f/8, f/11 and f/16 to see where it peaks.
- What do I do when the sky is boring?
Either give it less space or remove it. Placing the horizon high, cropping the frame just below the cloud line, or using the sky only as an empty backdrop for a strong foreground all work. A polarising filter can deepen a blue sky and cut glare from foliage, and a graduated neutral density filter or a graduated mask in editing will hold back a sky that is much brighter than the land.
- Do I need filters for landscape photography?
They are useful rather than essential, and a polariser is the one most landscape photographers keep on the lens, because its effect cannot be reproduced in editing. A neutral density filter allows long exposures in daylight for moving water or clouds. Graduated filters solve the bright-sky problem, though graduated masks in editing software now do a similar job.