LAN · Landscape
Sunrise and Sunset Photography That Works
Plan the timing, control the exposure and keep the colour: a practical guide to shooting the golden and blue hours without blowing out the sky.
Diagrams

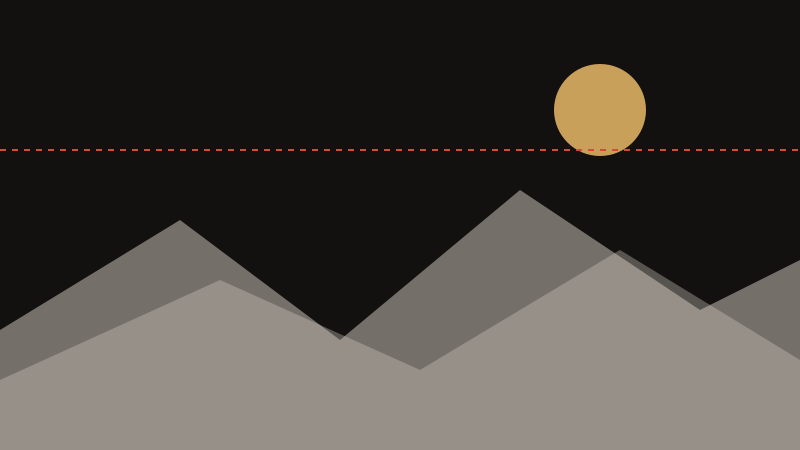

The best light does not happen at the moment of sunrise or sunset; it happens around it. Plan to arrive about 45 minutes before sunrise and stay at least 30 minutes after the sun has gone. The blue hour before dawn and the afterglow after sunset often produce richer, more even colour than the main event, and you will have the location to yourself. Use a sun-position app the day before to check exactly where the sun will rise or set relative to the features you want to include.
Exposure is where most frames fail. The sky is far brighter than the land, so meter for the highlights and let the foreground go dark, then lift it in editing, or use a graduated ND filter to balance the two in camera. Bracket three to five frames one stop apart and blend them later when the range is extreme. Shoot at ISO 100 and f/8-f/11 on a tripod, and check the histogram: a little clipping in the sun itself is fine, blown clouds are not.
Set white balance manually or to Daylight (around 5500K) instead of Auto, which will fight the warm light and neutralise the very colour you came for. Shoot RAW so you can recover highlights and adjust colour temperature afterwards. While the sun is still above the horizon, stop down to f/16 and let it flare against a hard edge, such as a tree, rock or pier, to render a clean sunstar.
The most common mistake is packing up too early. Colour peaks in the ten minutes after the sun disappears and again just before it rises, and a heavy tripod plus a warm jacket is what lets you stay for it. Also resist over-saturating in post: if the sky looks radioactive, you have gone too far.
Key points
- Arrive 45 minutes before sunrise and stay 30 minutes after sunset; the blue hour and afterglow often beat the main event.
- Meter for the sky, bracket 3-5 frames, or use a graduated ND filter to hold detail in the land.
- Shoot RAW at ISO 100 and f/8-f/11 on a tripod, with white balance set to Daylight rather than Auto.
- Stop down to f/16 and place the sun against a hard edge to get a clean sunstar.