POR · Portrait
Portrait Posing Guide for Beginners: Directions, Not Orders
People freeze the moment you say "act natural." This guide gives concrete posing cues for feet, hands, chin and eyes that produce relaxed portraits in minutes.
Diagrams
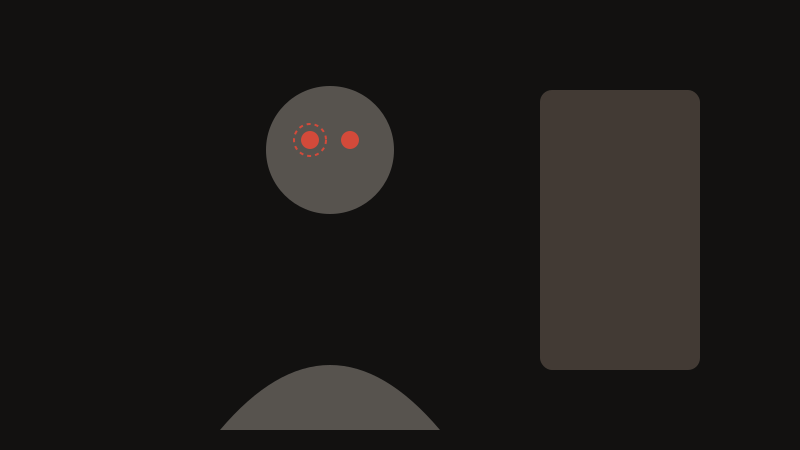

Posing is not about finding a flattering shape and holding it. It is about giving people something specific to do, so that their attention moves away from the camera and their body settles into something natural.
That is why the cues in this guide are phrased as instructions rather than compliments. Telling someone to relax produces the opposite; telling them to put their weight on the back foot and turn their hips forty-five degrees gives the body a task, and relaxation follows on its own.
Start With Feet and Hips, Never the Face
Tell your subject: "Turn your hips 45 degrees away from me, then bring your eyes back." That single instruction creates a natural three-quarter view and instantly slims the body, because the shoulders narrow relative to the camera.
Ask them to put their weight on the back foot with the front knee slightly relaxed. A locked front knee looks stiff, and even weight on both feet looks like a stance rather than a pose. Small asymmetries read as natural; symmetry reads as a passport photograph.
Avoid both shoulders running parallel to the camera unless that really is what you want. Once the hips and feet are set, very small changes in the shoulders, head and hands change the whole pose, which is why the base has to be right first.
Hands Need a Job
Hands are the hardest part of any pose, and the answer is almost always to occupy them. If in doubt, give them a job: hold a collar, touch a hairline, rest a hand in a pocket with the thumb out, adjust a cuff, hold a cup, or lean on a rail.
Ask for ballet hands: fingers relaxed and slightly separated, never splayed flat toward the lens. A flat palm facing the camera looks like a stop sign, and stiff fingers look like claws; both are fixable with one sentence.
Watch the frame edge. A hand cut off at the wrist looks like an accident, so crop above the wrist or below the elbow, not through a joint. Also check that the hands are not the brightest thing in the frame, because the eye follows the brightest object first.
Chin, Jaw and Eyes
Chin and eyes carry the expression. "Chin forward and down a touch" defines the jawline and removes any hint of a double chin without retouching; pulling the chin back does the opposite, and it is what most people do instinctively when a camera appears.
For the eyes, choose a target and say it out loud: the lens, your shoulder, or a point just past the camera. Different targets produce visibly different expressions, and the point just past the camera usually gives the most natural, engaged look for a portrait.
Ask for a slow blink and open on three. It resets a tired expression and gives the eyes a cleaner shape than the wide-eyed stare people adopt when told to look natural.
Directing: One Cue at a Time
Give one direction at a time, then shoot. A person holding three simultaneous instructions looks like a person holding three simultaneous instructions, and you will lose the small window in which the first cue looked fresh.
Keep the session moving, and change your own position as well as theirs. Photographers who stand at eye level for the whole session get twenty identical frames, no matter how many poses they ask for. Move left and right, higher and lower, and you will find the one or two angles where this person looks best.
Praise specifically: "love the chin, hold that" works, because people repeat what you notice. General praise such as "great, perfect" tells them nothing about what to do next and makes the session grind to a halt.
What to Avoid, and How to Keep a Session Moving
Avoid saying "relax", which has the opposite effect, and avoid standing while shooting, which makes seated subjects look small and distant. Avoid letting hands dangle with nothing to do, and avoid asking for a smile.
Instead, make them laugh at something. Real expressions last a fraction of a second, so a genuine laugh caught mid-burst is worth more than a held smile, which tends to look like a grimace by the third frame. Shoot in continuous bursts and pick the frame afterwards.
If a pose is not working, change the environment rather than repeating the instruction: a new backdrop, a seat, a wall to lean on or a doorway will produce a different body position without anyone having to perform.
Key points
- Direct the hips first, not the face: turn hips 45 degrees away, then bring the eyes back to the lens.
- Give hands a job — collar, hairline or pocket — and never crop through the wrist or elbow joint.
- Say "chin forward and down a touch" to sharpen the jawline without any retouching.
- Give one instruction at a time and shoot in bursts; real expressions last a fraction of a second.
Frequently asked questions
- What do I say when someone freezes in front of the camera?
Give them a physical task rather than an emotional instruction. "Put your weight on the back foot, turn your hips away from me, then look back at my left shoulder" is something a person can actually do, and their attention moves from how they look to what they are doing. Freezing is usually caused by being asked to relax, which is not a task anyone can carry out.
- How do I photograph someone who hates being photographed?
Work quickly, talk continuously, and keep your own manner unhurried, because tension is contagious in both directions. Give simple instructions with visible results and show them one good frame early, since confidence changes a face more than any posing cue. It also helps to shoot the first frames while they are still listening to you, before they have had time to pose.
- How many poses should I get in one session?
Fewer than you think. Three or four well-set poses, shot from several angles each, produce a better set than twenty variations of the same standing position. When you find an angle where the light and the subject work together, stay there and explore it rather than moving on to prove you have more ideas.
- Do props help with posing?
They help the hands and give the subject something to look at, which is often enough. A chair, a cup, a scarf or a doorway creates positions and gives the body a reason to be arranged a particular way. The caution is that props can also date a photograph or distract from the face, so keep them simple and relevant to the person.